
Painting lures is a straightforward process; however, ensuring their durability against impacts and the harsh conditions of saltwater can be more challenging. The diagram below provides an overview of the coatings arrangement.
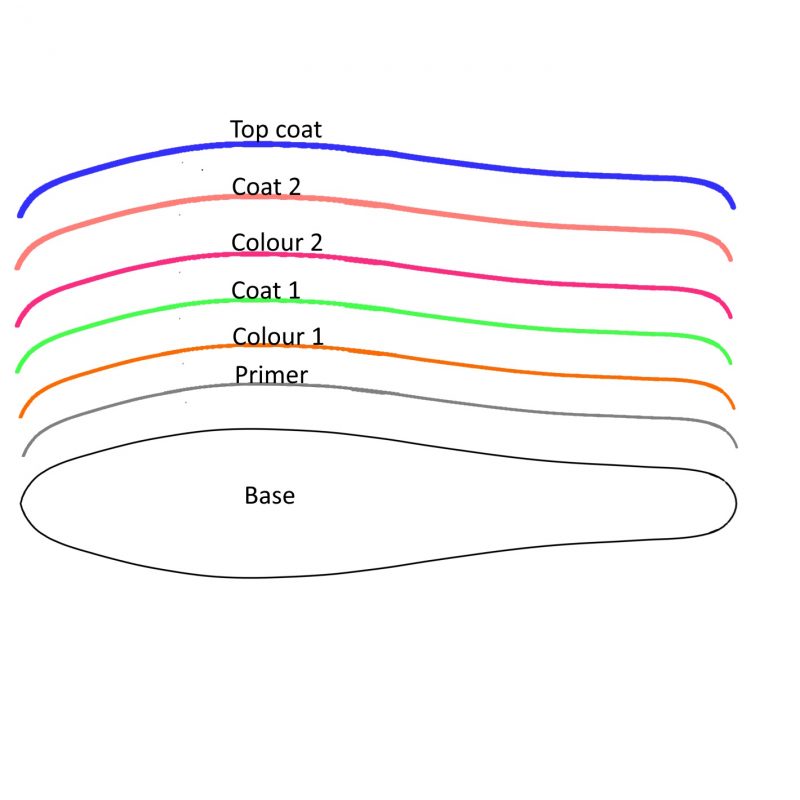
Primer
A primer is essential for long-lasting durability. It significantly improves the bonding strength between the lure surface and the paint, preventing chipping and peeling over time. Applying paint directly to the lure without a primer may result in a weak and easily damaged finish.
Base Color (Color 1)
The first color layer is typically lacquer paint. This choice allows for rework since lacquer paint can withstand the removal of subsequent acrylic layers without being damaged.
Intermediate Coating (Coat 1)
This optional coating is primarily applied over chrome layers. All types of chrome paint are highly susceptible to damage from solvents, often resulting in a dull finish. To prevent this, the coating should not be thinned or use moisture-cured materials. Two-part epoxy is a practical solution, though it adds significant thickness and weight. Alternatively, certain brands of floor wax may serve as a lighter option(and dry faster).
Second Color Layer (Color 2)
The second color layer should be chosen based on the compatibility with the first. For example, if the first layer is acrylic paint, applying lacquer paint over it may cause damage due to the lacquer thinner. Selecting compatible materials is critical to avoid compromising the base layer.
Bonding Layer (Coat 2)
This optional layer improves adhesion between the paint and the final topcoat. Sometimes, two-part resin coatings may cause “fisheye” defects on the surface due to poor bonding. A polycrylic layer can be applied to resolve this issue and ensure a smooth finish.
Topcoat
The topcoat is the final protective layer and can be urethane-based or resin-based. Urethane topcoats are typically moisture-cured, while resin-based topcoats may be UV-cured or consist of a two-part resin system. Both options provide excellent durability and resistance to harsh conditions.
Some viable products
Primer
MR. HOBBY Primer
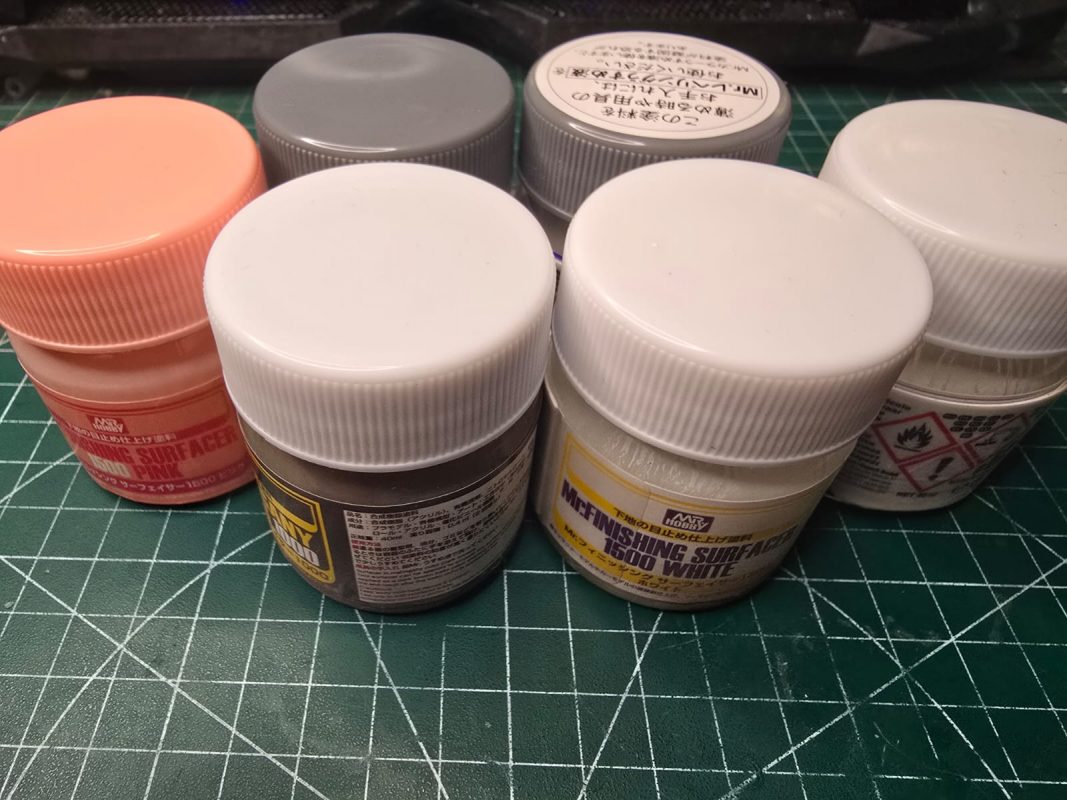
As a lacquer based primer, “MR. HOBBY” surfacer provides a wieder range of products with different grit level(500/1000/1500).
VALLEJO Surface Primer
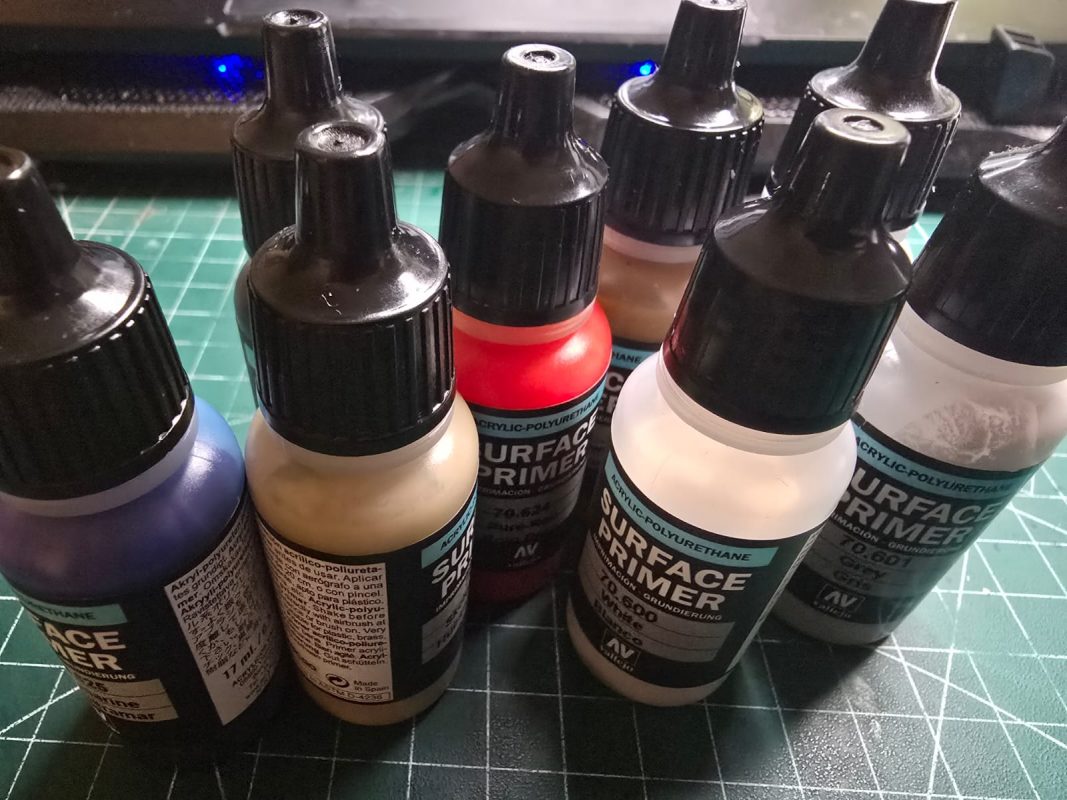
Alternatively, these acrylic based primers form “VALLEJO” can also get the job done. (Note: all colour layers on top must be acrylic based paint, as lacquer thinner is able to dissolve arcylic based primer.)
Colour
Mr.Color Lacquer
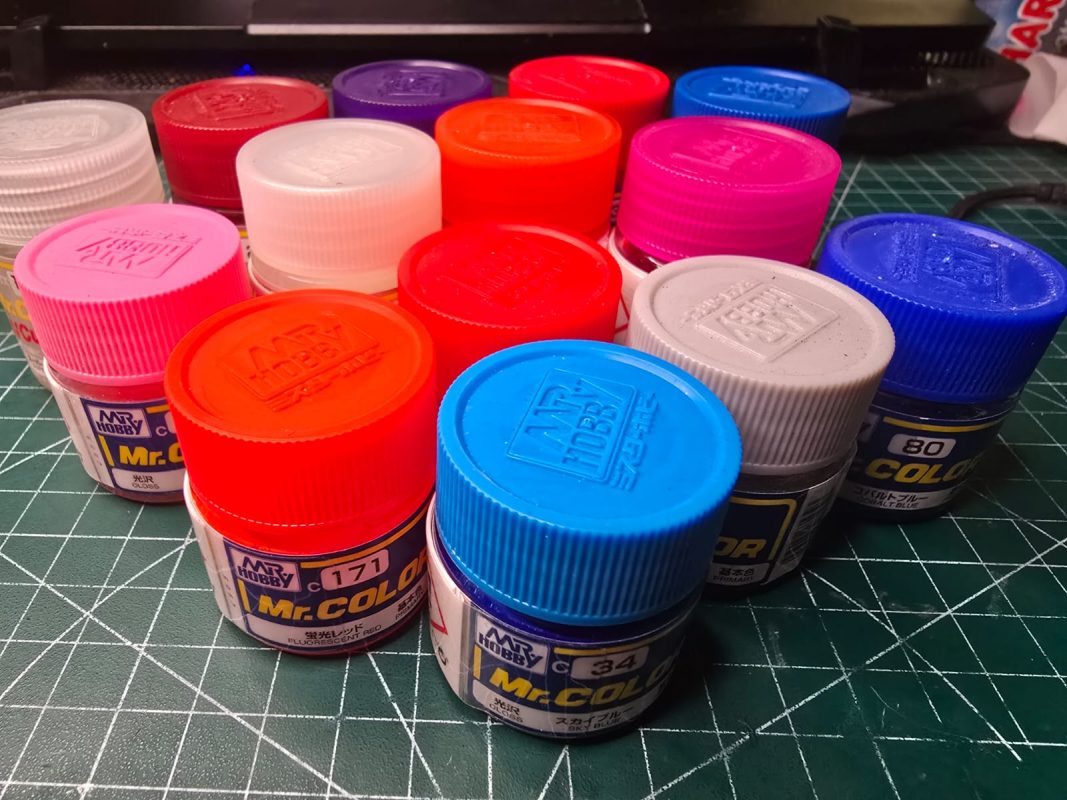
Tamiya Lacquer
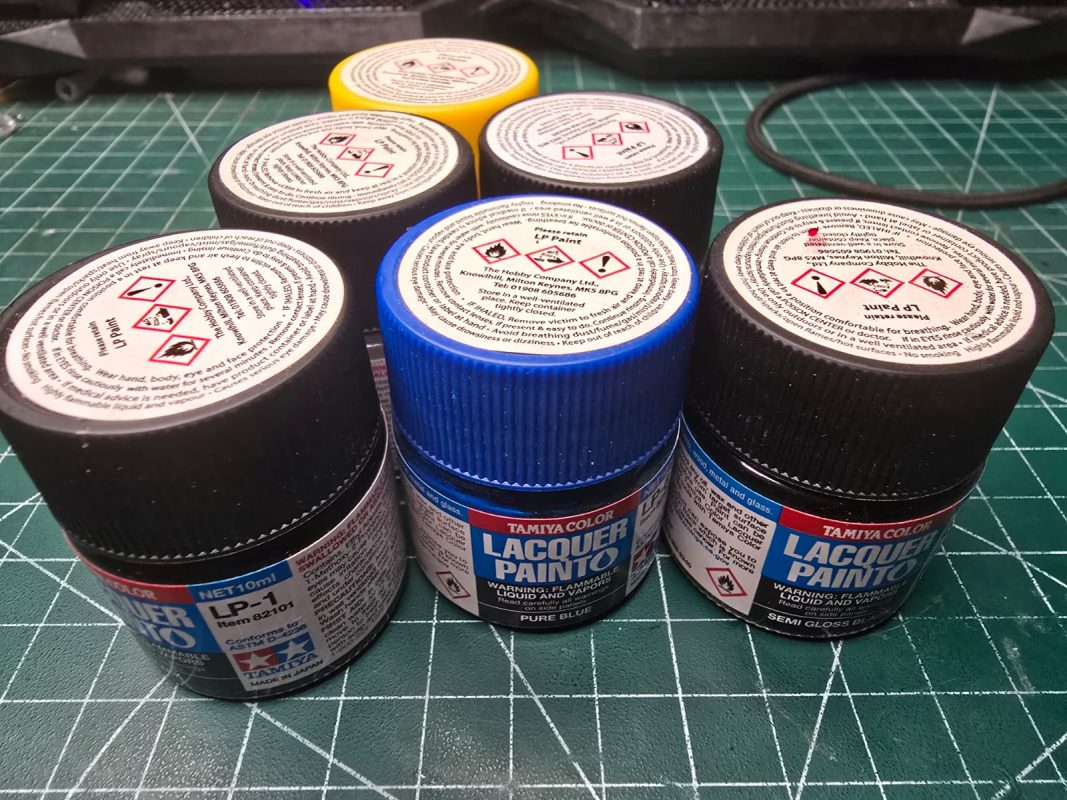
There are plenty of options when it comes to lacquer paint. For example, “Mr. Color” and “Tamiya” should be very accessible worldwide.
VALLEJO AIRBRUSH SET
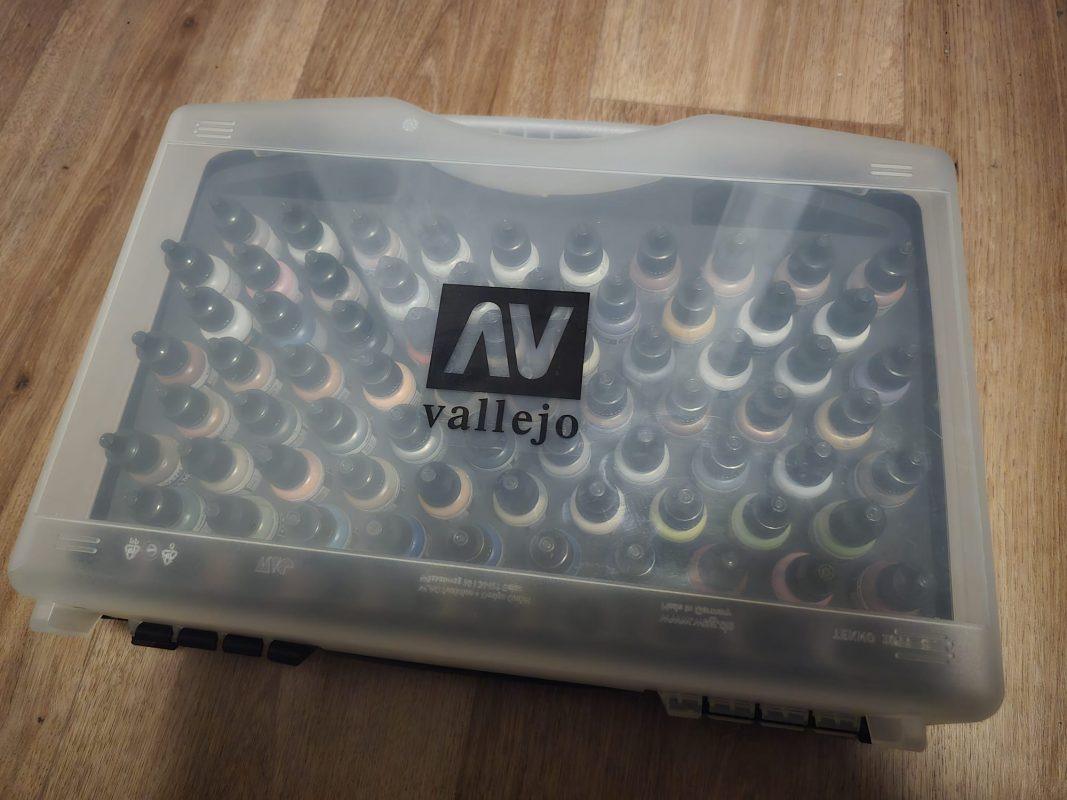
Instead of buying seperately, there are different box-set you may choose from “VALLEJO” acrylic paints. It comes with the paint and primer too.
Colour – Chrome
Pro Scale – chrome / Molotow – liquid chrome
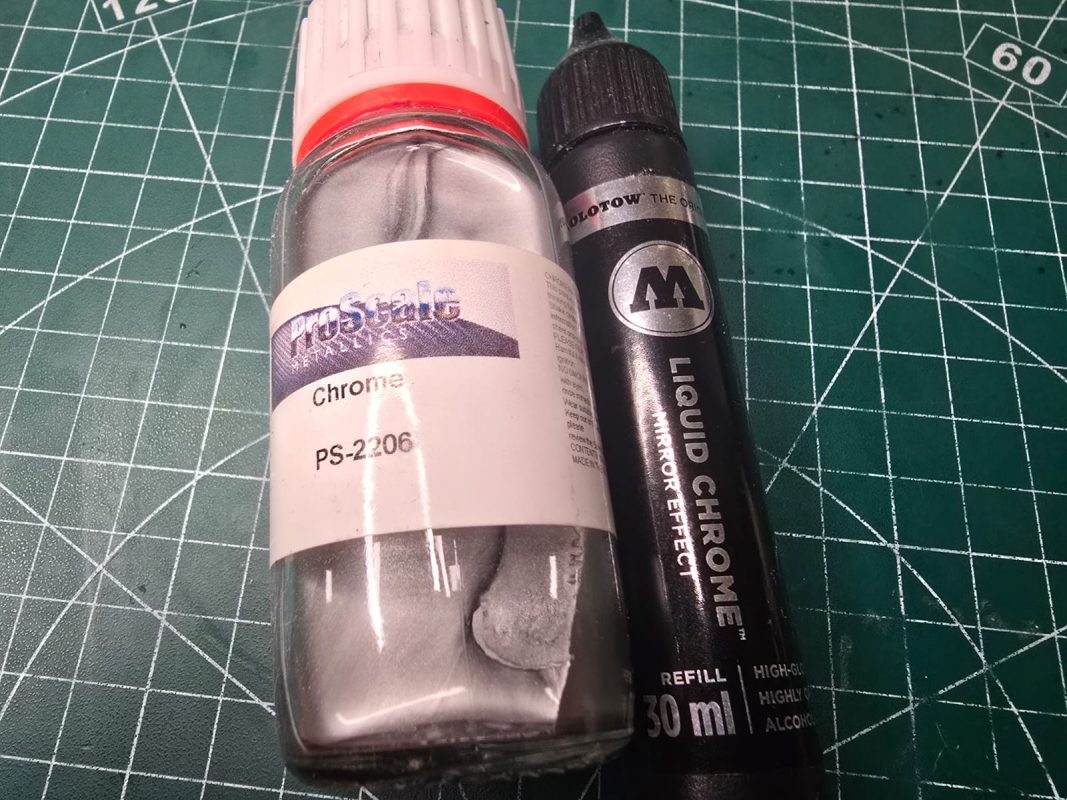
For the choice of chrome, “Pro Scale – chrome” and “Molotow – liquid chrome” both work pretty well.
Colour – Colour Shift
Green Stuff World
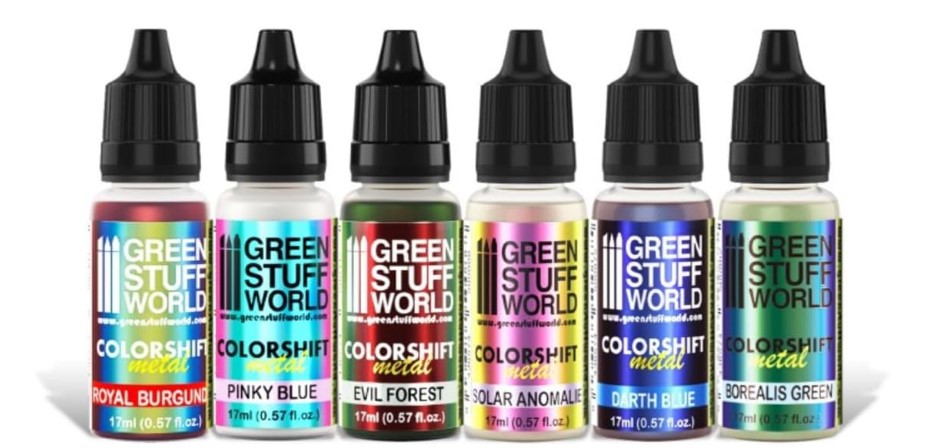
It is acrylic based colour-shift paint, personally I found it perform better if using less thinner.
Mr Crystal Colour
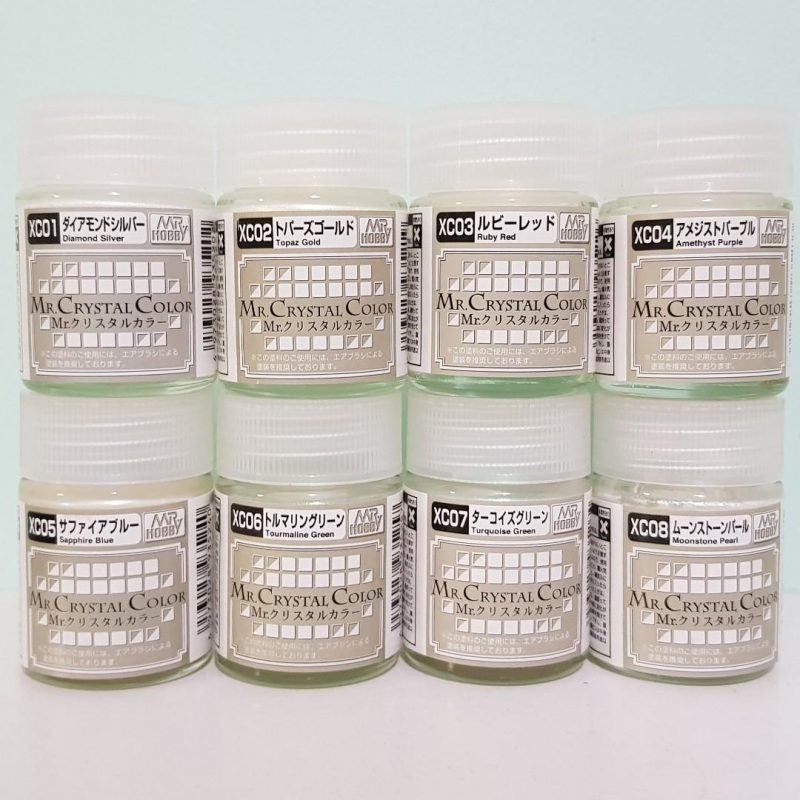
It is a lacquer based colour-shift paint. Instead of giving an obvious colour shifting appearance, it offers a pearl like looking.
Intermediate coatings
TREWAX / Pledge Original / QUICK SHINE
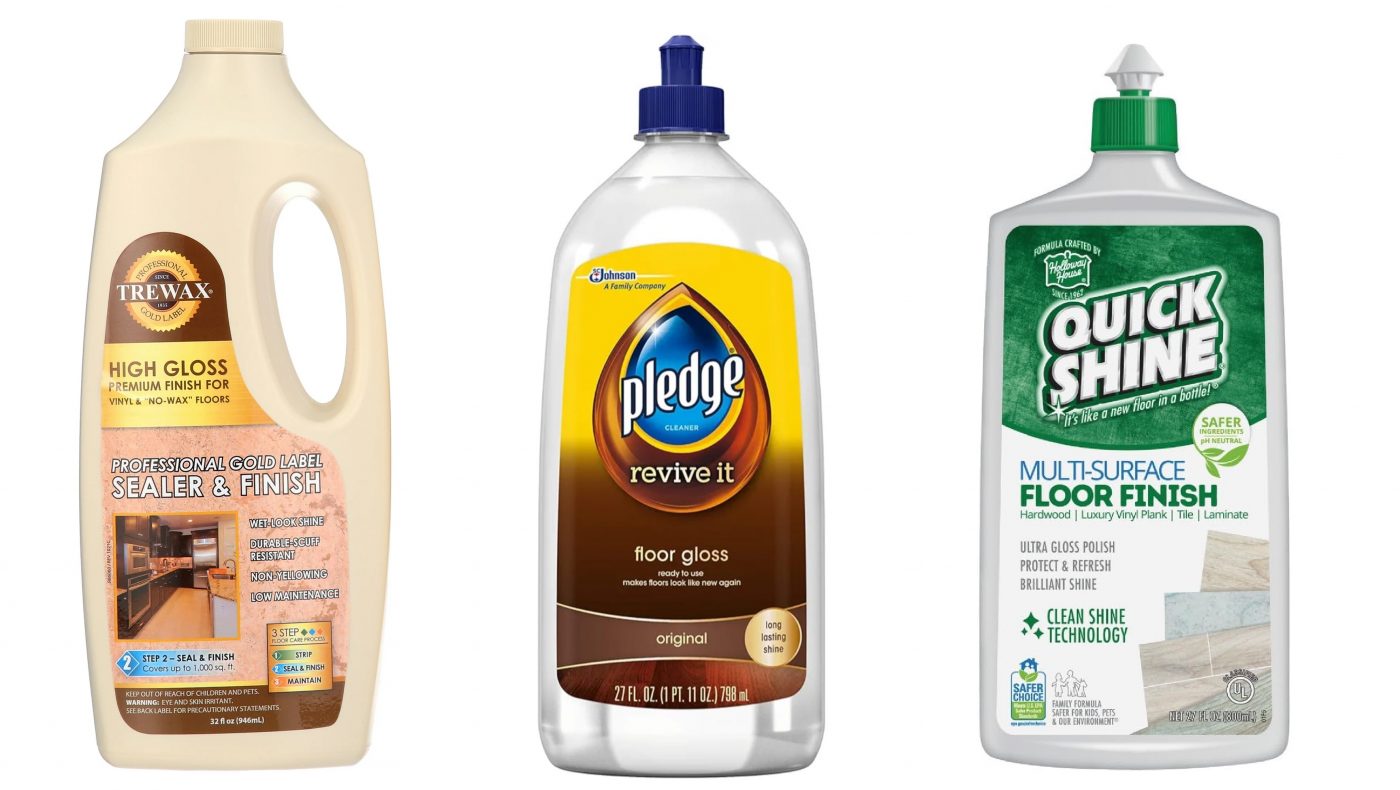
As mentioned earlier, an intermediate layer is essential for protecting the chrome finish. The product “Pledge Original” is considered ideal for this purpose, though its availability varies by region due to changes in branding and formulations, with some reports suggesting it has been discontinued. As a result, individuals have sought accessible alternatives, with products like “TREWAX” and “QUICK SHINE” being noteworthy options to consider. These products should be thinned with 5-15% water when using with airbrush.
(Clean your airbrush immdiately with hot water/IPA/lacquer thinner/acetone)
Pro-scale chrome sealer
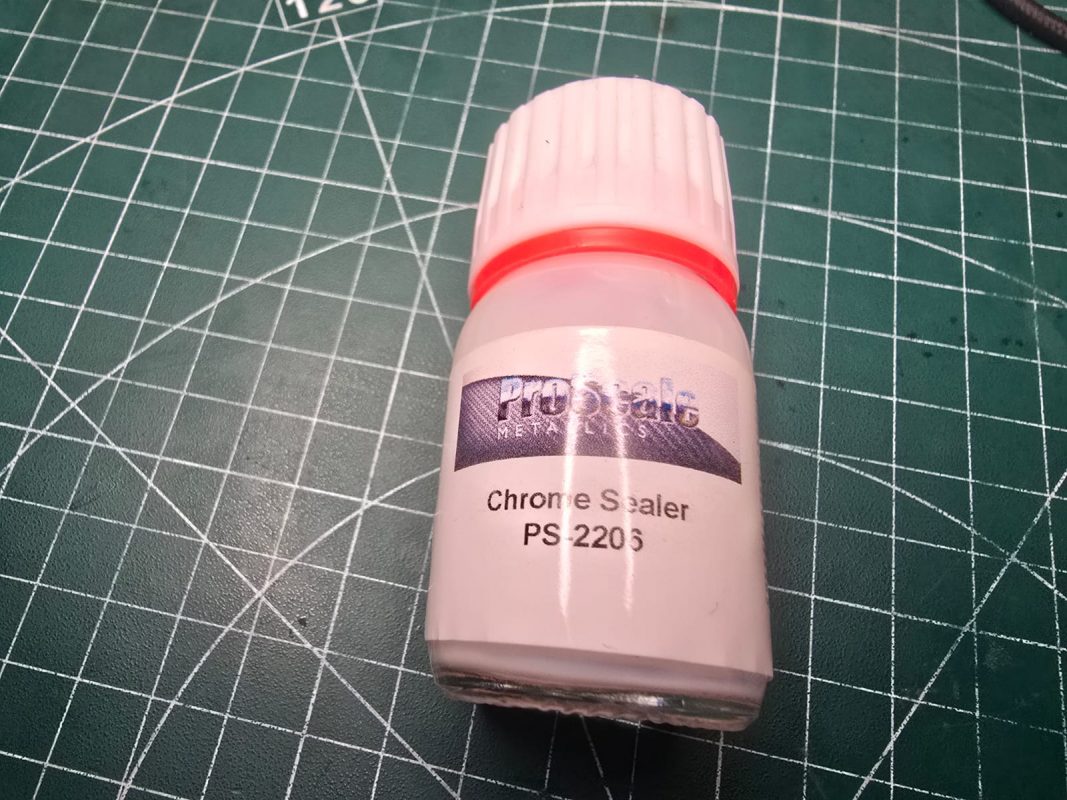
Pro-scale Chrome set includes a chrome sealer which is also a viable option.
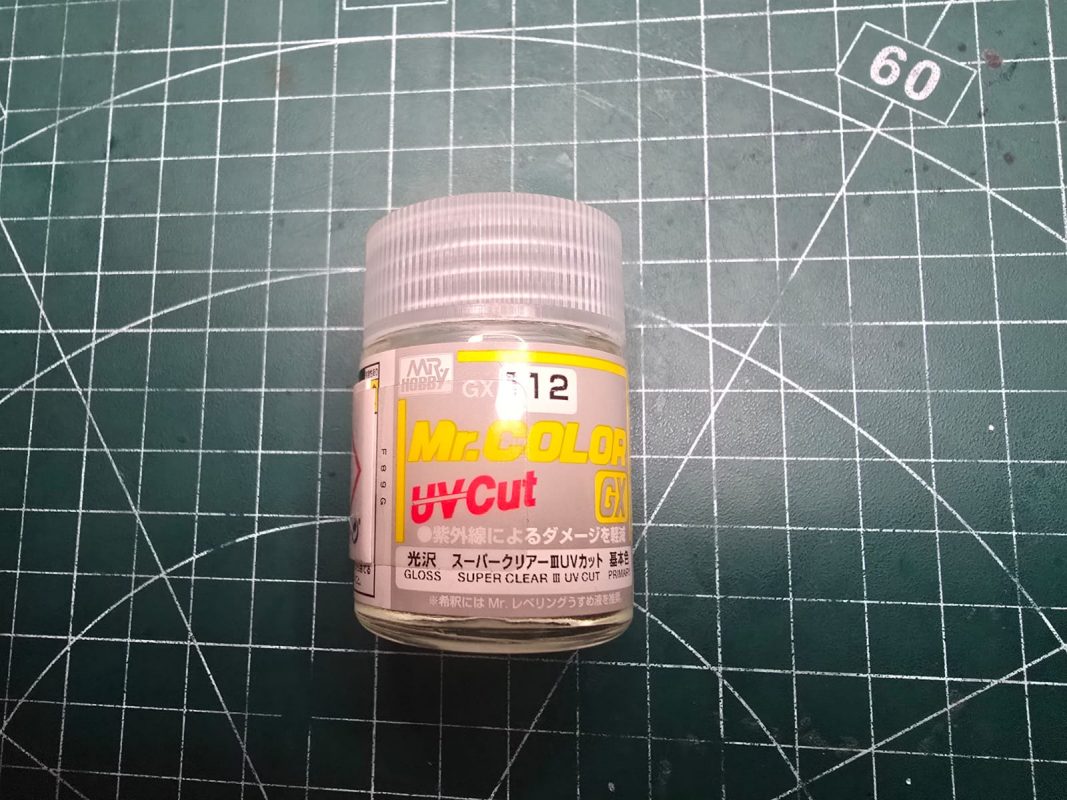
Mr.Color gloss clear UV cut lacquer
Bonding layer
MINWAX
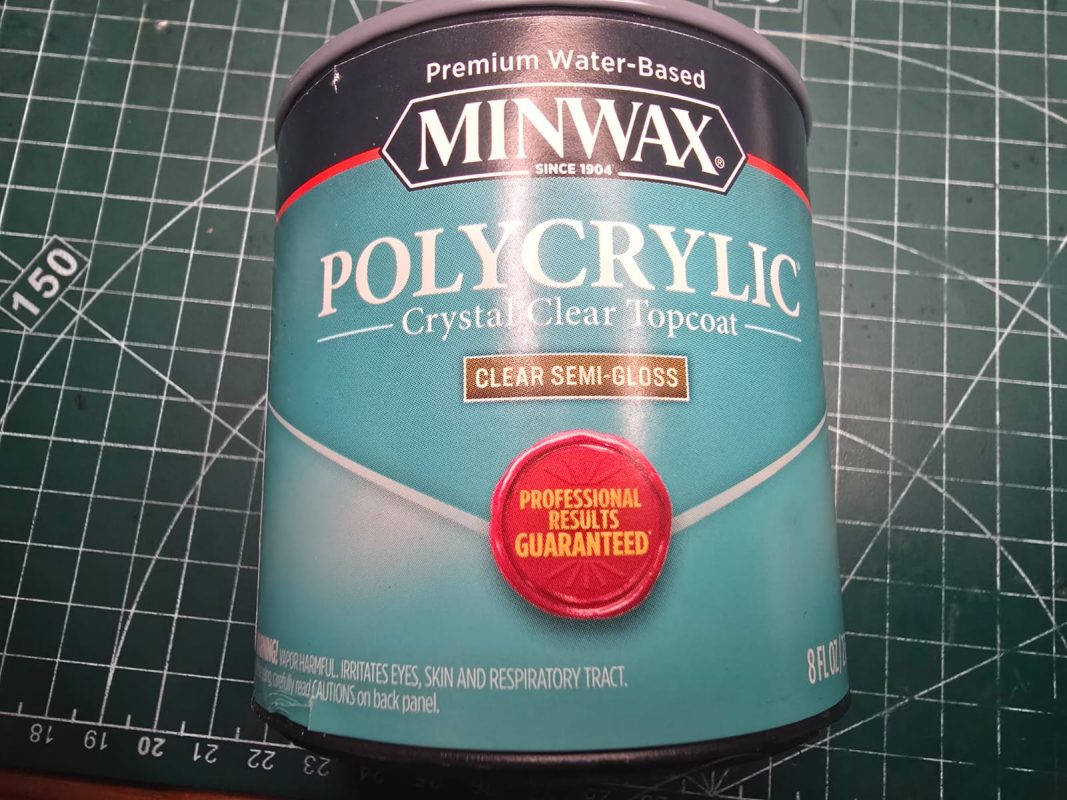
Using a water-based polycrylic bonding layer, such as “MINWAX,” is highly recommended, particularly when applied over lacquer (oil-based) paint. This is because resin topcoats often struggle to adhere effectively to oil-based paints. Ensuring the polycrylic is water-based eliminates the need for solvent-based thinners, promoting compatibility and ease of application. These products should be thinned with 5-15% water when using with airbrush.
(Clean your airbrush immdiately with hot water/IPA/lacquer thinner/acetone)
Topcoat
AlumiLite AMAZING- Quick Coat Epoxy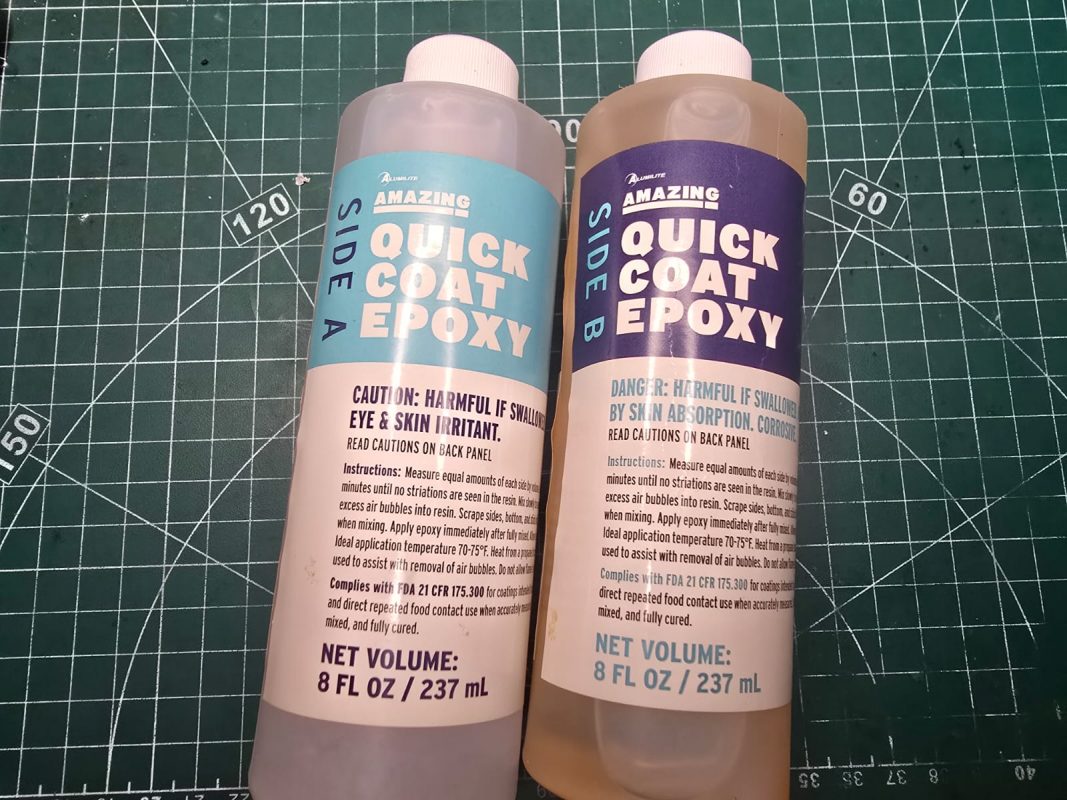
“AlumiLite AMAZING- Quick Coat Epoxy” provides a glossy finish, with a longer pot life. Meaning it is easier to be handled. This product provides a bigger room of error without forming fisheye. it may takes 5 -12 hours to touch dry and 3 – 4 days to cure completely.
Technique: hand-brushing (Clean with acetone after use)
Rotating lure drying rack: YES
Layer thickness: Thick
Price: Medium
BSI 30-Min Slow-Cured Epoxy
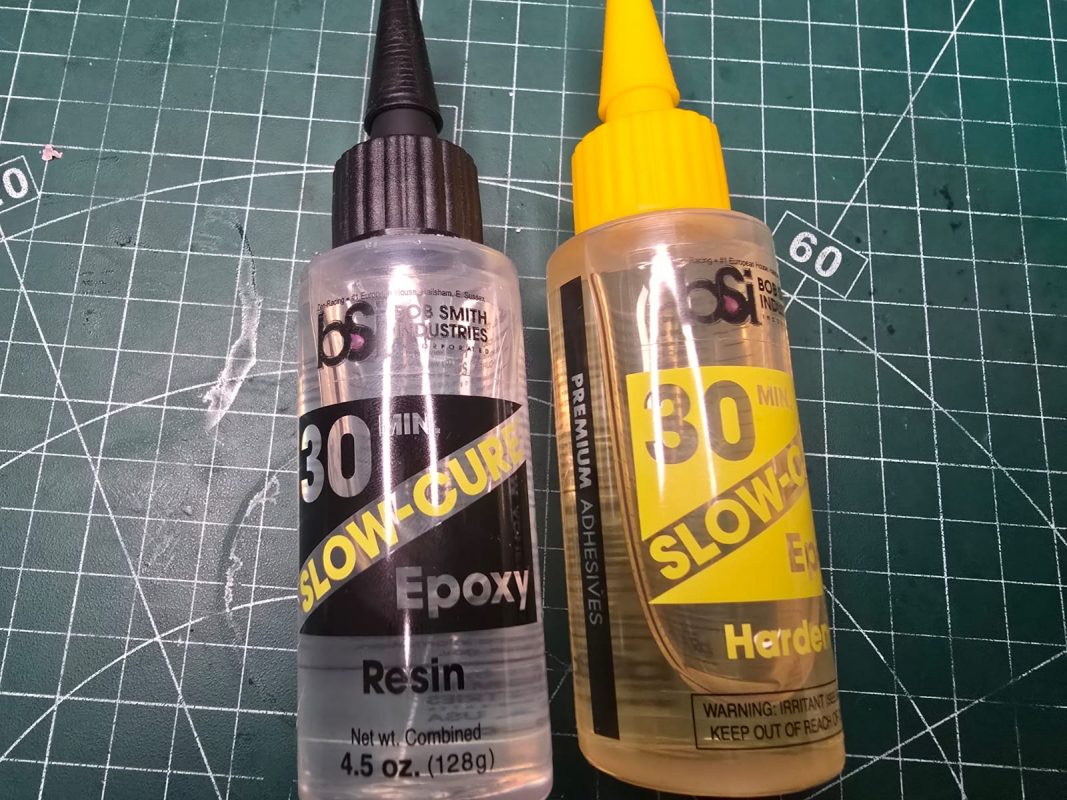
Based on my experience, the “BSI 30-Min Slow-Cured Epoxy” cures significantly faster than expected. However, this comes at the cost of a notably shorter pot life, as the epoxy generates substantial heat during curing while further accelerate its self-curing process. This heat is intense enough to melt disposable plastic cups. Additionally, the cured finish lacks the high-gloss appearance typically seen with other epoxy products. But in terms of strength against impact, it is slightly stronger and its layer is not as thick.
Technique: hand-brushing (Clean with acetone after use)
Rotating lure drying rack: YES
Layer thickness: medium to thick
Price: Medium
Pro Scale – Clear Coat
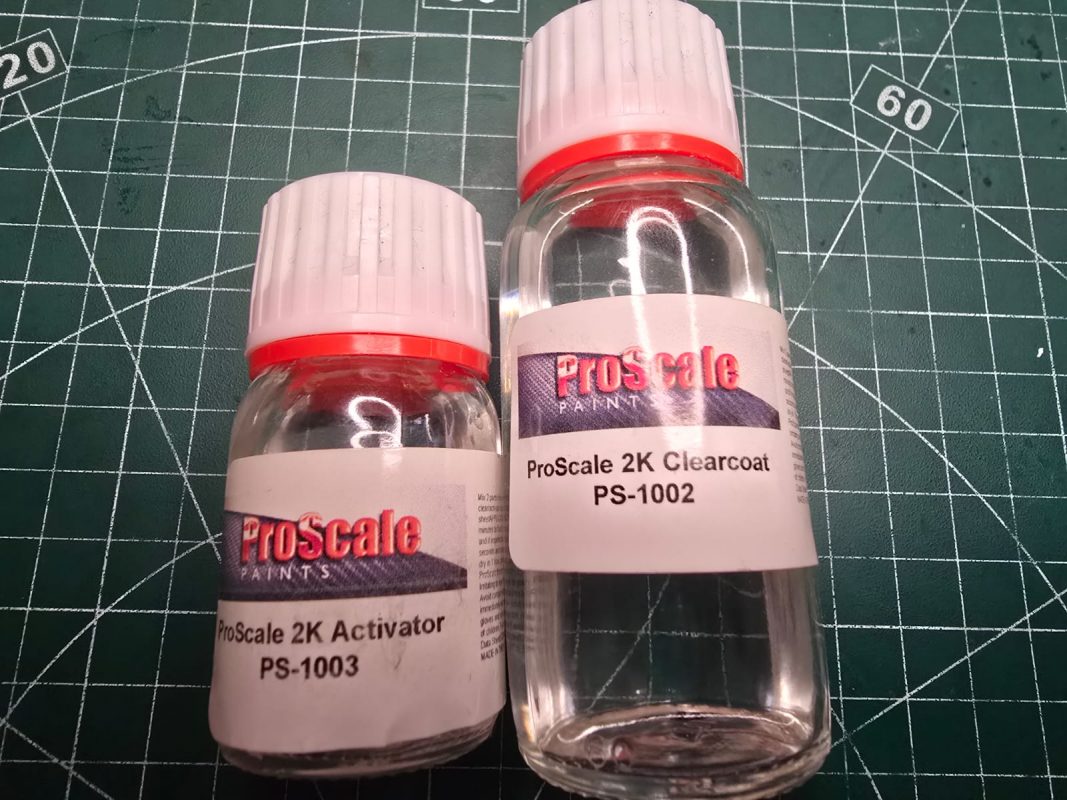
unlike other 2 parts coatings, “ProScale ClearCoat” is certainly one of its kind. It can be used with airbrush with or without thinner. It becomes touch-dry in 5 hours, which is shorter than most of other 2 parts resin. Eventhough Its fully cured duration is roughly 5 days, which is slightly longer than others.
Technique: hand brushing / air-brushing (0.5mm nozzle and use higher PSI)
Rotating lure drying rack: Not necessary but recommended
Layer thickness: thin to medium
Price: Medium
(airspraying booth with air-ventilation are mandatory, also, clean the airbrush with acetone immediately after use. Choose the cheapest airbrush you can find, because acetone is able to ruin the O-ring/rubber parts in your airbrush.)
KBS Diamond Finish CLEAR
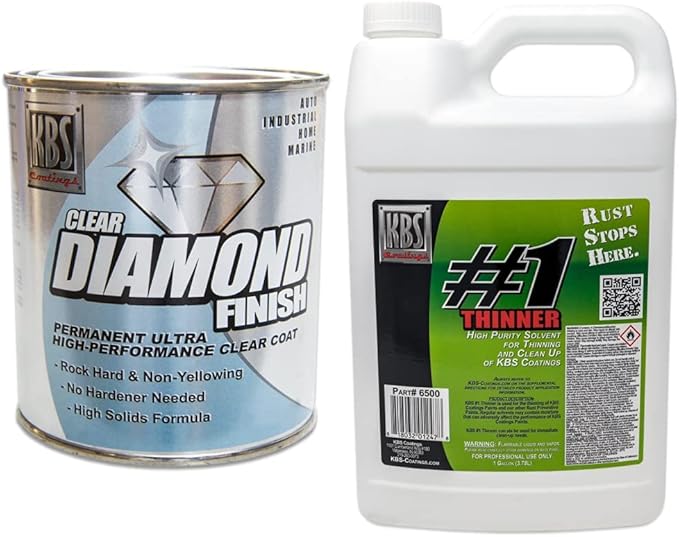
An alternative option is “KBS Diamond Finish” which eliminates the need for precise mixing during preparation. Unlike traditional epoxies that require a hardener or activator, this product cures through moisture exposure, similar to super glue. It offers versatile application methods, including hand-brushing, airbrushing, or dipping. For lures intended to be fully sealed, a simple dip directly into the can is sufficient.
It requires a storage box with absorbent beads to keep moisture out. Otherwise, entire can will be solidified within days.
Technique: hand brushing / dipping / air-brushing (0.5mm nozzle and use higher PSI)
Rotating lure drying rack: Not necessary but recommended
Layer thickness: thin
Price: High
(airspraying booth with air-ventilation are mandatory, also, clean the airbrush with its thinnner / acetone immediately after use. Choose the cheapest airbrush you can find, because the thinner and acetone are able to ruin the O-ring/rubber parts in your airbrush.)
UV glue resin
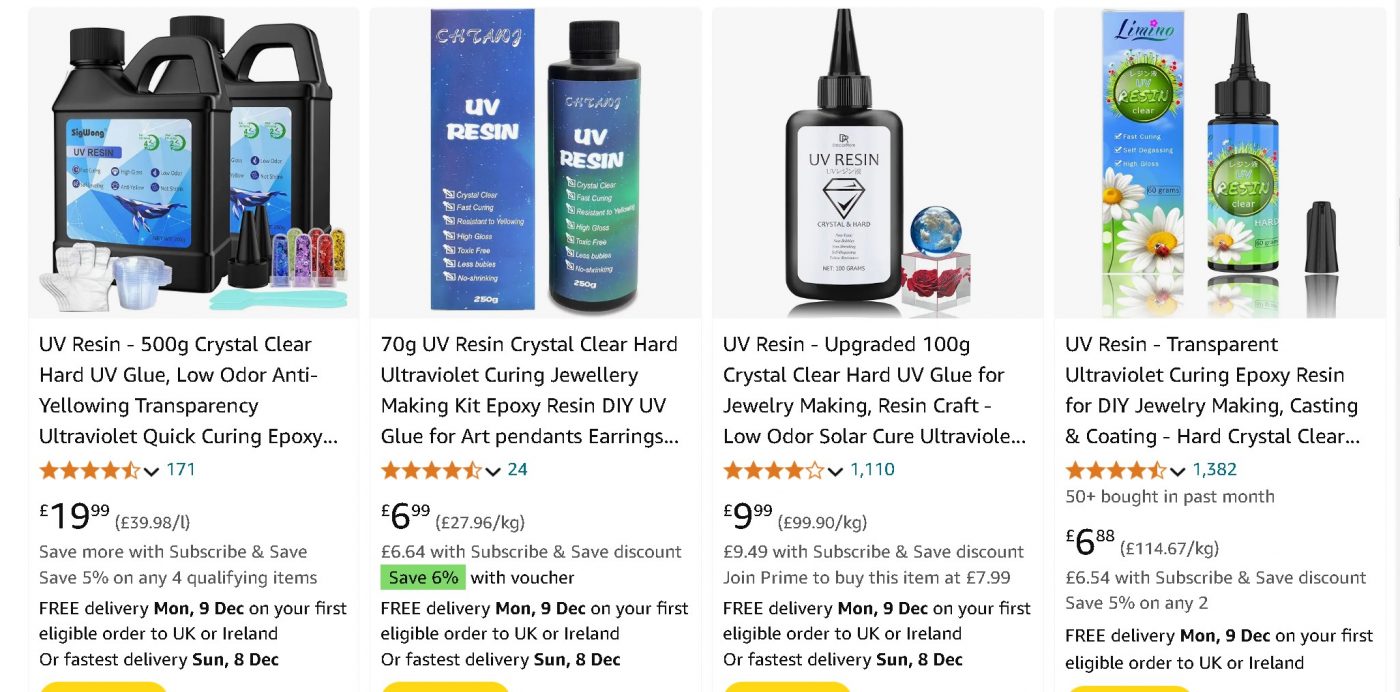
It is the most accessible topcoat, which you may find on amazon or other platform and any brand will do. However, it requires an enclosed rotating lure drying rack with UV light installed. The UV light may damage the layer if the wavelength is not chose carefully.
Technique: hand brushing
Rotating lure drying rack: YES and requires UV LED and fully enclosed to block UV.
Layer thickness: thick
Price: Low
